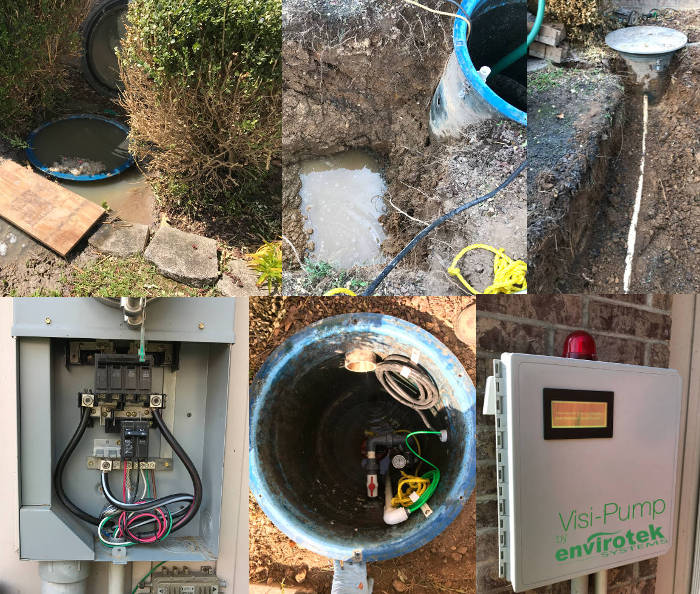
Here’s a project we were hired to repair and replace an existing grinder pump in Branson with our new Visi-Pump system.
First, a little history on this project.
We were originally hired to make a repair to the pump’s discharge line. It had failed due to an error made by the previous plumber, who failed to properly glue the fittings. This lack of attention to detail, unfortunately, resulted in the homeowner having to pay additional money out of pocket for something that could have easily been prevented.
After making the initial repair to the discharge line, all was in working order. A few days later, the grinder pump failed. It’s also worth noting that this is the 3rd time within a 7 year period that this homeowner had to replace their grinder pump. It was at this point the homeowner decided to go with our premium application, Visi-Pump.
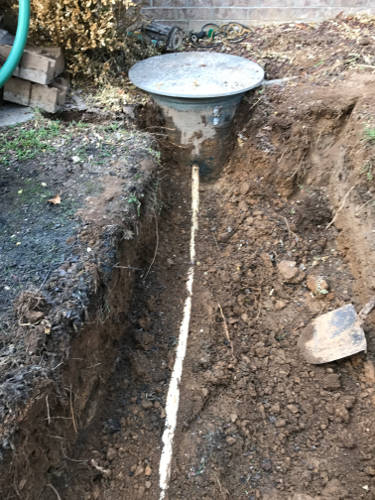
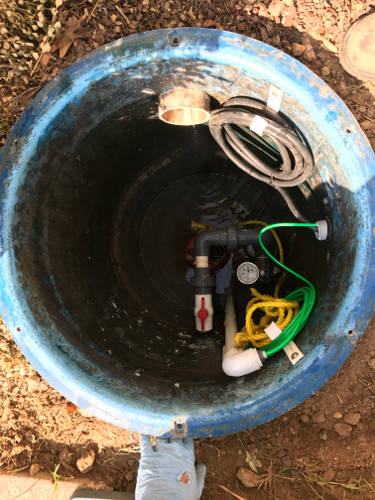
This pump basin was at one of the lowest points of a community pressure sewer system. The discharge piping had come apart and sewage from all of the neighboring homes was overflowing from this basin. There was no shut-off valve connected to the discharge piping. We had to install a new shut-off valve under live flow.
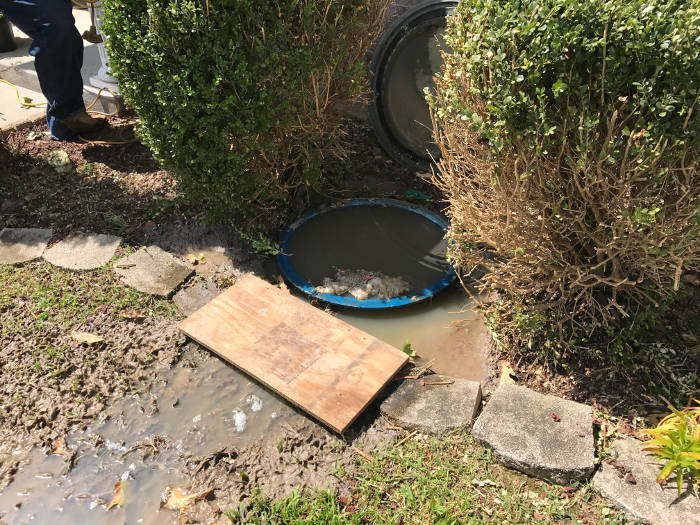
Here’s what it looked liked in its original failed condition.
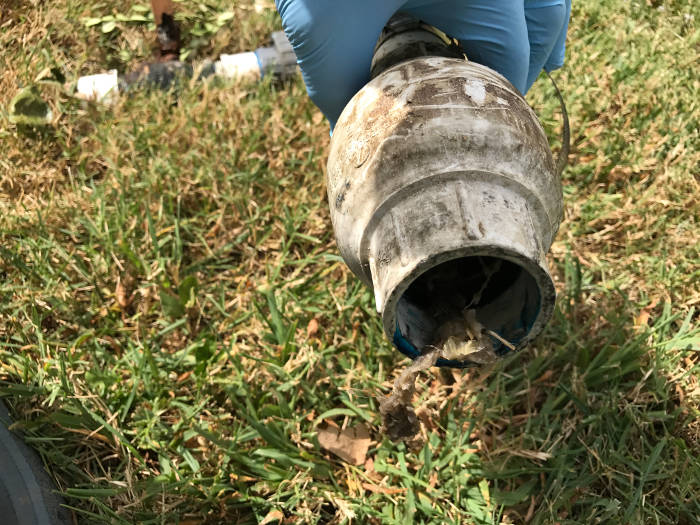
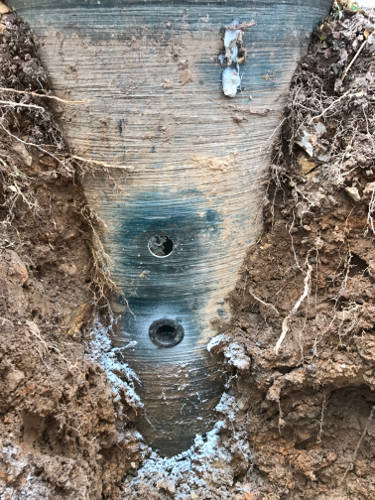
After our initial investigation, we pulled the pump and noticed the glue joints weren’t glued and connected properly.
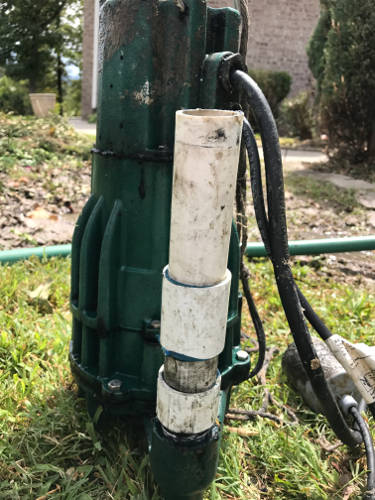
You can also see in this image below how the other connections within the discharge pipe were also not secured properly as well.
Additionally, the existing check valve (located at the pump) was unable to stop flow because of trapped debris.
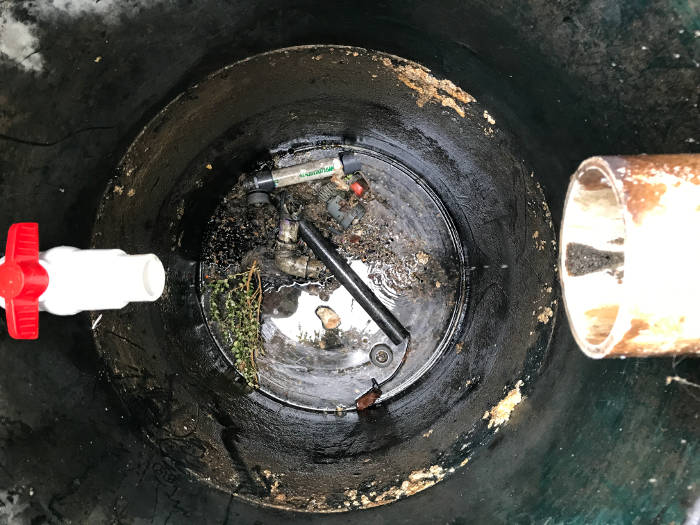
Not to pick on the plumber who originally installed it, but there was certainly a lack of care used in this previous installation. Here’s some left over miscellaneous parts that were dropped and left in the bottom of the basin. This isn’t good as it can get caught up in the grinder pump, which can lead to early failure.
Here’s the debris and misc. parts that were left over.
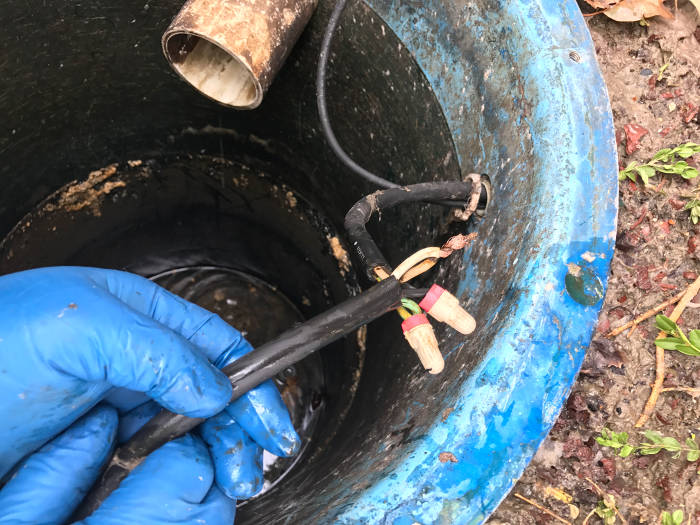
Another error made was the poor attempt to secure the pump’s wiring. They used an unsafe non-immersion proof electrical splice inside the pump basin.
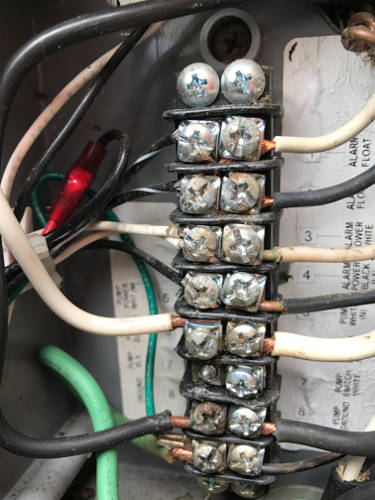
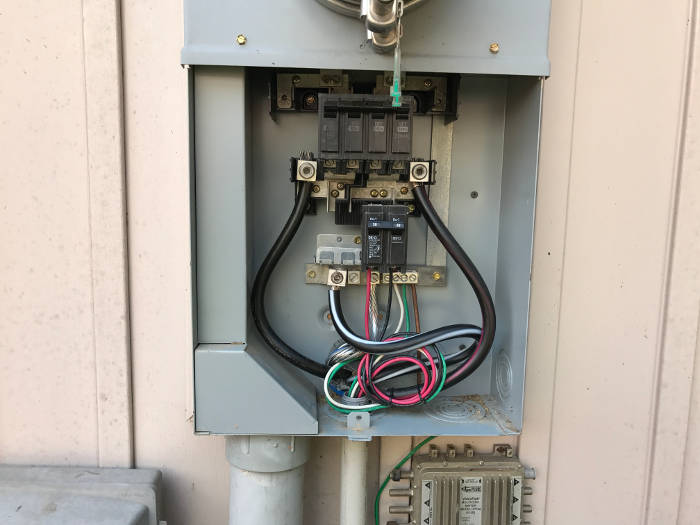
Another component that was sure to fail was the electrical connections inside the original control panel. The existing control panel terminals were corroding because the sewage gases were not properly sealed off at the control panel.
Additionally, the discharge piping was not properly compacted, which led to the original required repair.
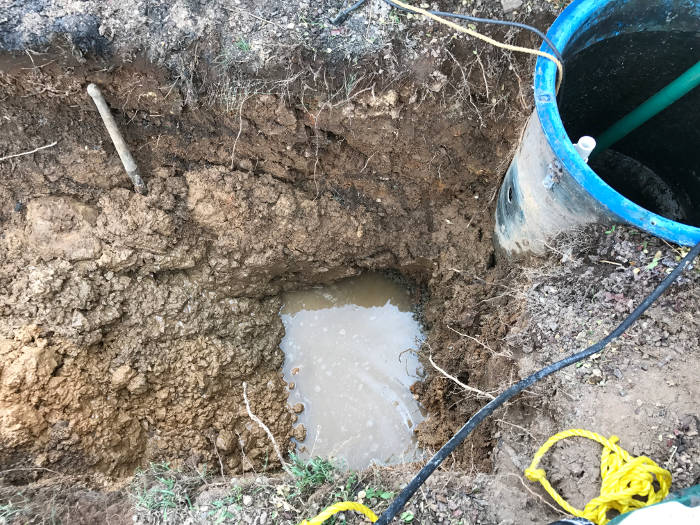
The previous installer also did not make secure water tight connections where the discharge pipe left the basin. This led to excessively wet soil at the pump basin.
We installed a new waterproof grommet below the original discharge pipe penetration. This made for a water tight connection.
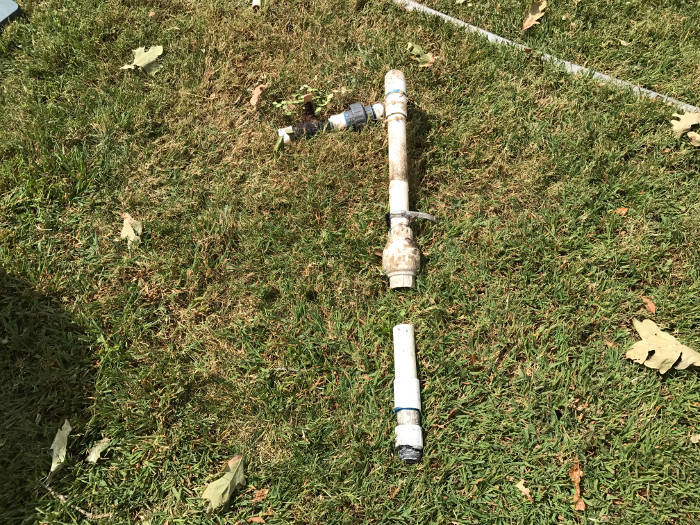
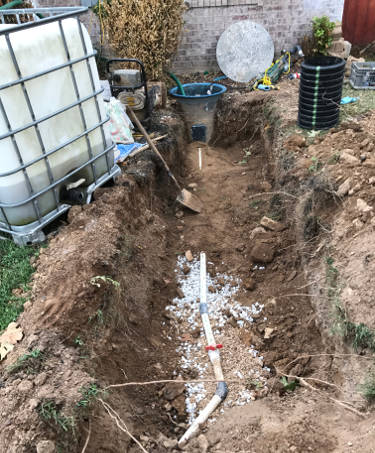
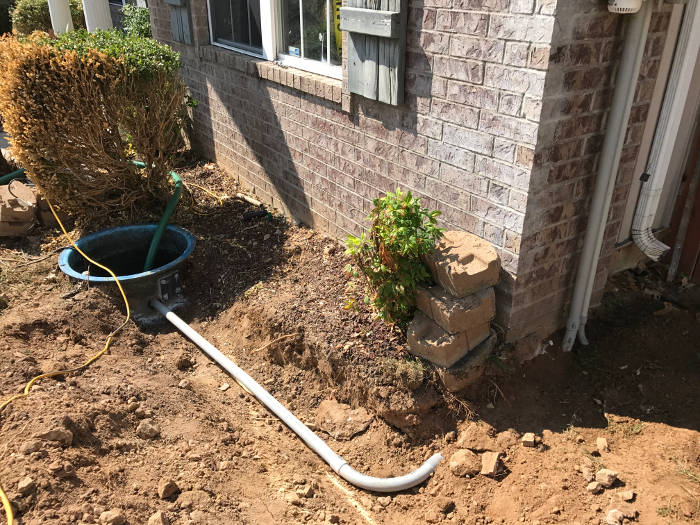
Next, we installed new discharge piping and sealed the old hole with our custom plate and sealant.

The new discharge line was complete with a properly installed shut-off valve. This valve is installed for stopping the flow of wastewater in the event that any future maintenance or repairs are required. It’s proper procedure in our industry, but many times, often under utilized.
Our next step was to install electrical conduit with waterproof grommets for the pump and controls cables.
We also installed new wiring at the meter can for power supply to our new Visi-Pump control panel.
After all necessary repairs and connections were made, we installed our new grinder pump.
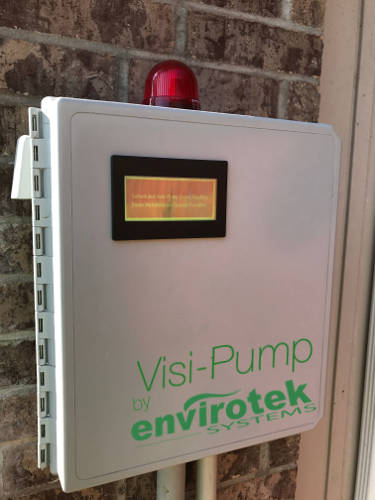
Finally, we installed our Visi-Pump system, which controls and operates the grinder pump.
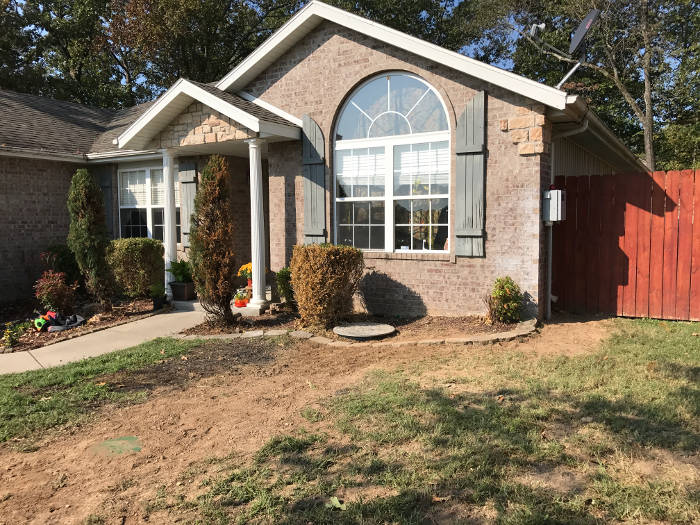
Once everything was completely repaired and replaced, we backfilled the entire area so that is was prepped for landscaping.
Here’s what it looked like after we were finished.
Tired of replacing your grinder pump system every few years? At Envirotek Systems, we are dedicated to quality workmanship that lasts. Trust in our services to provide your home in Branson with a grinder pump system that will outlast them all!
Call or Request Estimate!